October 30, 2026
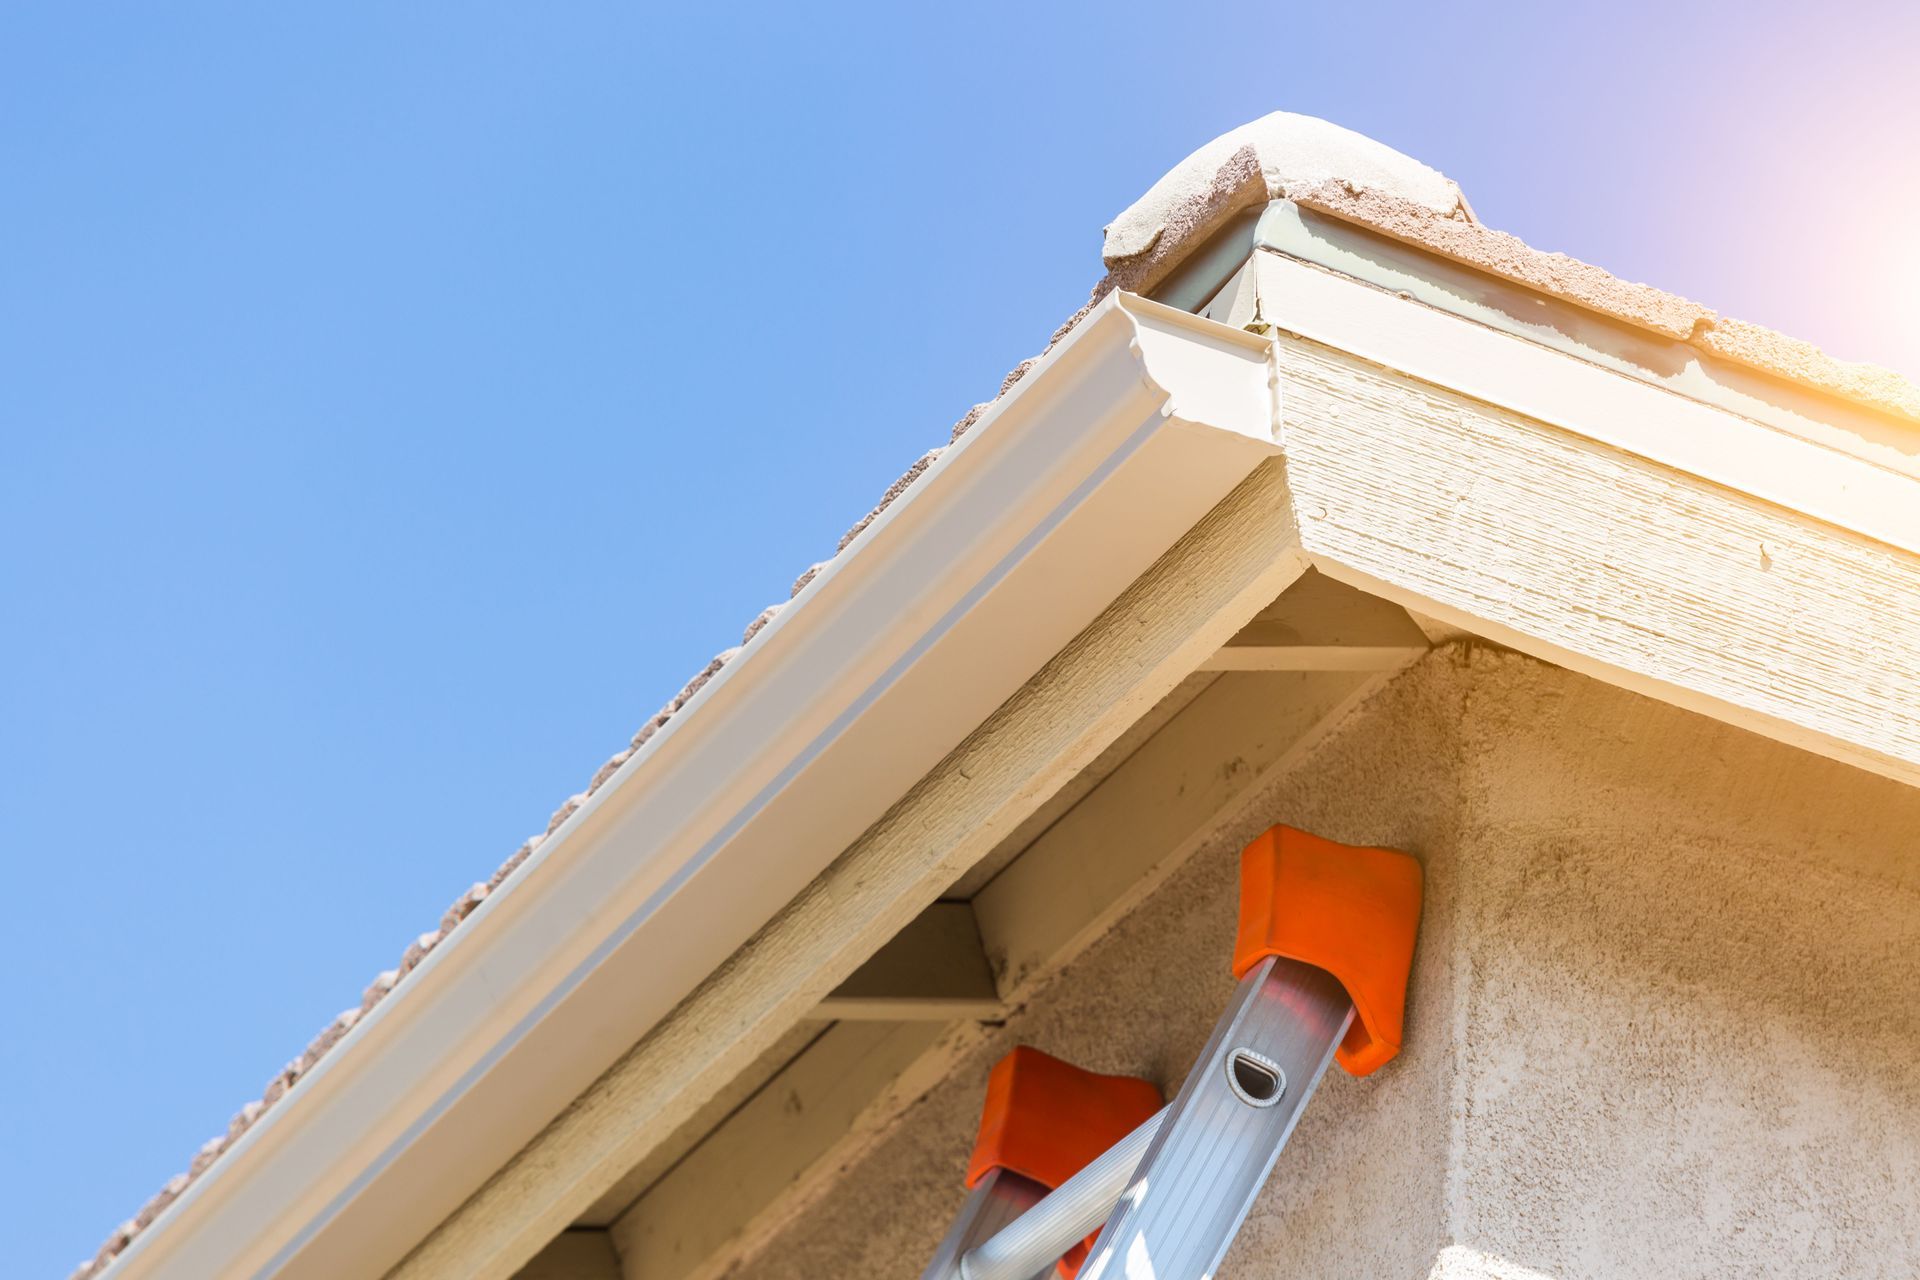
When it comes to protecting your home against water damage, your gutter system is your first line of defense. Standard sectional gutters—the kind assembled in short segments connected with visible seams—have long been a common fixture on residential roofs. However, those sectional joints are notorious weak points where leaves gather, debris gets trapped, and water eventually leaks through. If you want a reliable, durable, and clean-looking upgrade, investing in a professional seamless gutter installation is one of the smartest home improvement decisions you can make.
At Pine Belt Gutters & Baggett Roofing, we have spent over 30 years helping homeowners across the Pine Belt area safeguard their foundations, landscaping, and roof structures. Understanding what happens before, during, and after a professional installation helps you feel confident throughout the entire process.
This comprehensive guide covers everything you need to know about preparing for your project, the step-by-step seamless gutter installation process, critical technical requirements, and how to care for your brand-new seamless system.
Seamless Gutters and Their Strengths
Sectional gutters come in pre-cut standard lengths (typically 10 to 20 feet) that must be glued, soldered, or snapped together during fitting. Every place where two sections meet creates a seam. Over time, fluctuating thermal conditions cause these sections to expand and contract, breaking down sealant and causing leaks. Furthermore, the internal ridges formed by seams trap twig fragments, pine needles, and mud, leading to stubborn clogs.
Seamless gutters, by contrast, are custom-fabricated from continuous coils of high-grade metal—most commonly aluminum, copper, or steel. The only seams in a seamless system exist at the inside and outside corners where two rooflines intersect, as well as at the outlets connecting the gutters to the downspouts.
Key Benefits of Seamless Systems
- Reduced Risk of Leaks: With no mid-run seams along the fascia board, the chances of water leaking behind your siding or dripping onto your foundation are dramatically lower.
- Custom Fit for Your Roofline: Every section is extruded on-site to match the exact length of your roof’s eaves down to the fraction of an inch.
- Enhanced Curb Appeal: Continuous lines give your home’s exterior a sleek, tailored appearance that blends seamlessly with your roofing and trim.
- Lower Maintenance Needs: Smooth interior surfaces mean debris flows more easily toward the downspouts, reducing clogging frequency and making cleaning far easier.
- Longer Overall Lifespan:
Because seamless gutters resist heavy sagging, seam degradation, and rust pockets, they outlast traditional sectional gutters by many years.
The On-Site Inspection and Custom Estimate
A successful seamless gutter installation starts long before the installation crew unloads their equipment in your driveway. Thorough preparation ensures the installation runs smoothly, on schedule, and yields flawless technical results.
When you request an estimate from Pine Belt Gutters & Baggett Roofing, a qualified specialist evaluates your home’s exterior. During this visit, the installer will measure roof lines accurately to calculate lengths for all runs, eaves, and valleys.
The technician will analyze roof pitch and water flow to determine where water runoff is heaviest, where roof valleys direct water, and where downspouts should be strategically placed to divert runoff away from your foundation. Finally, the specialist will assess drainage paths to map out downspout placement so water discharges safely away from basement walls, crawl spaces, walkways, and garden beds.
The Process of Choosing Your Materials, Profiles, and Colors
During your initial consultation, you will choose the ideal combination of materials, shapes, and finishes for your architectural style.
Materials: High-grade heavy-gauge aluminum is the most popular choice due to its lightweight durability, rust resistance, and cost-effectiveness. Homeowners seeking a classic or high-end aesthetic may opt for copper gutters, which age into an attractive green patina over time.
Gutter Profiles:
The standard choice for modern homes is the K-style profile, which features a flat back and a decorative front that mimics crown molding. U-shape half-round gutters are another option, frequently selected for historical or traditional homes.
Sizing Options: Standard residential gutters are 5 inches wide, but 6-inch gutters are recommended for steeper roofs, larger surface areas, or regions that experience intense torrential rainstorms.
Color Matching:
Modern aluminum coils come pre-finished with durable factory coatings in dozens of shades, making it easy to match or complement your siding, trim, or roof color.
Step-by-Step Seamless Gutter Installation Process
On installation day, the project team follows a methodical process to manufacture, fit, and secure your new water management system. Here is a detailed breakdown of what to expect while the crew is on-site.
Step 1: Removal and Disposal of Old Gutters
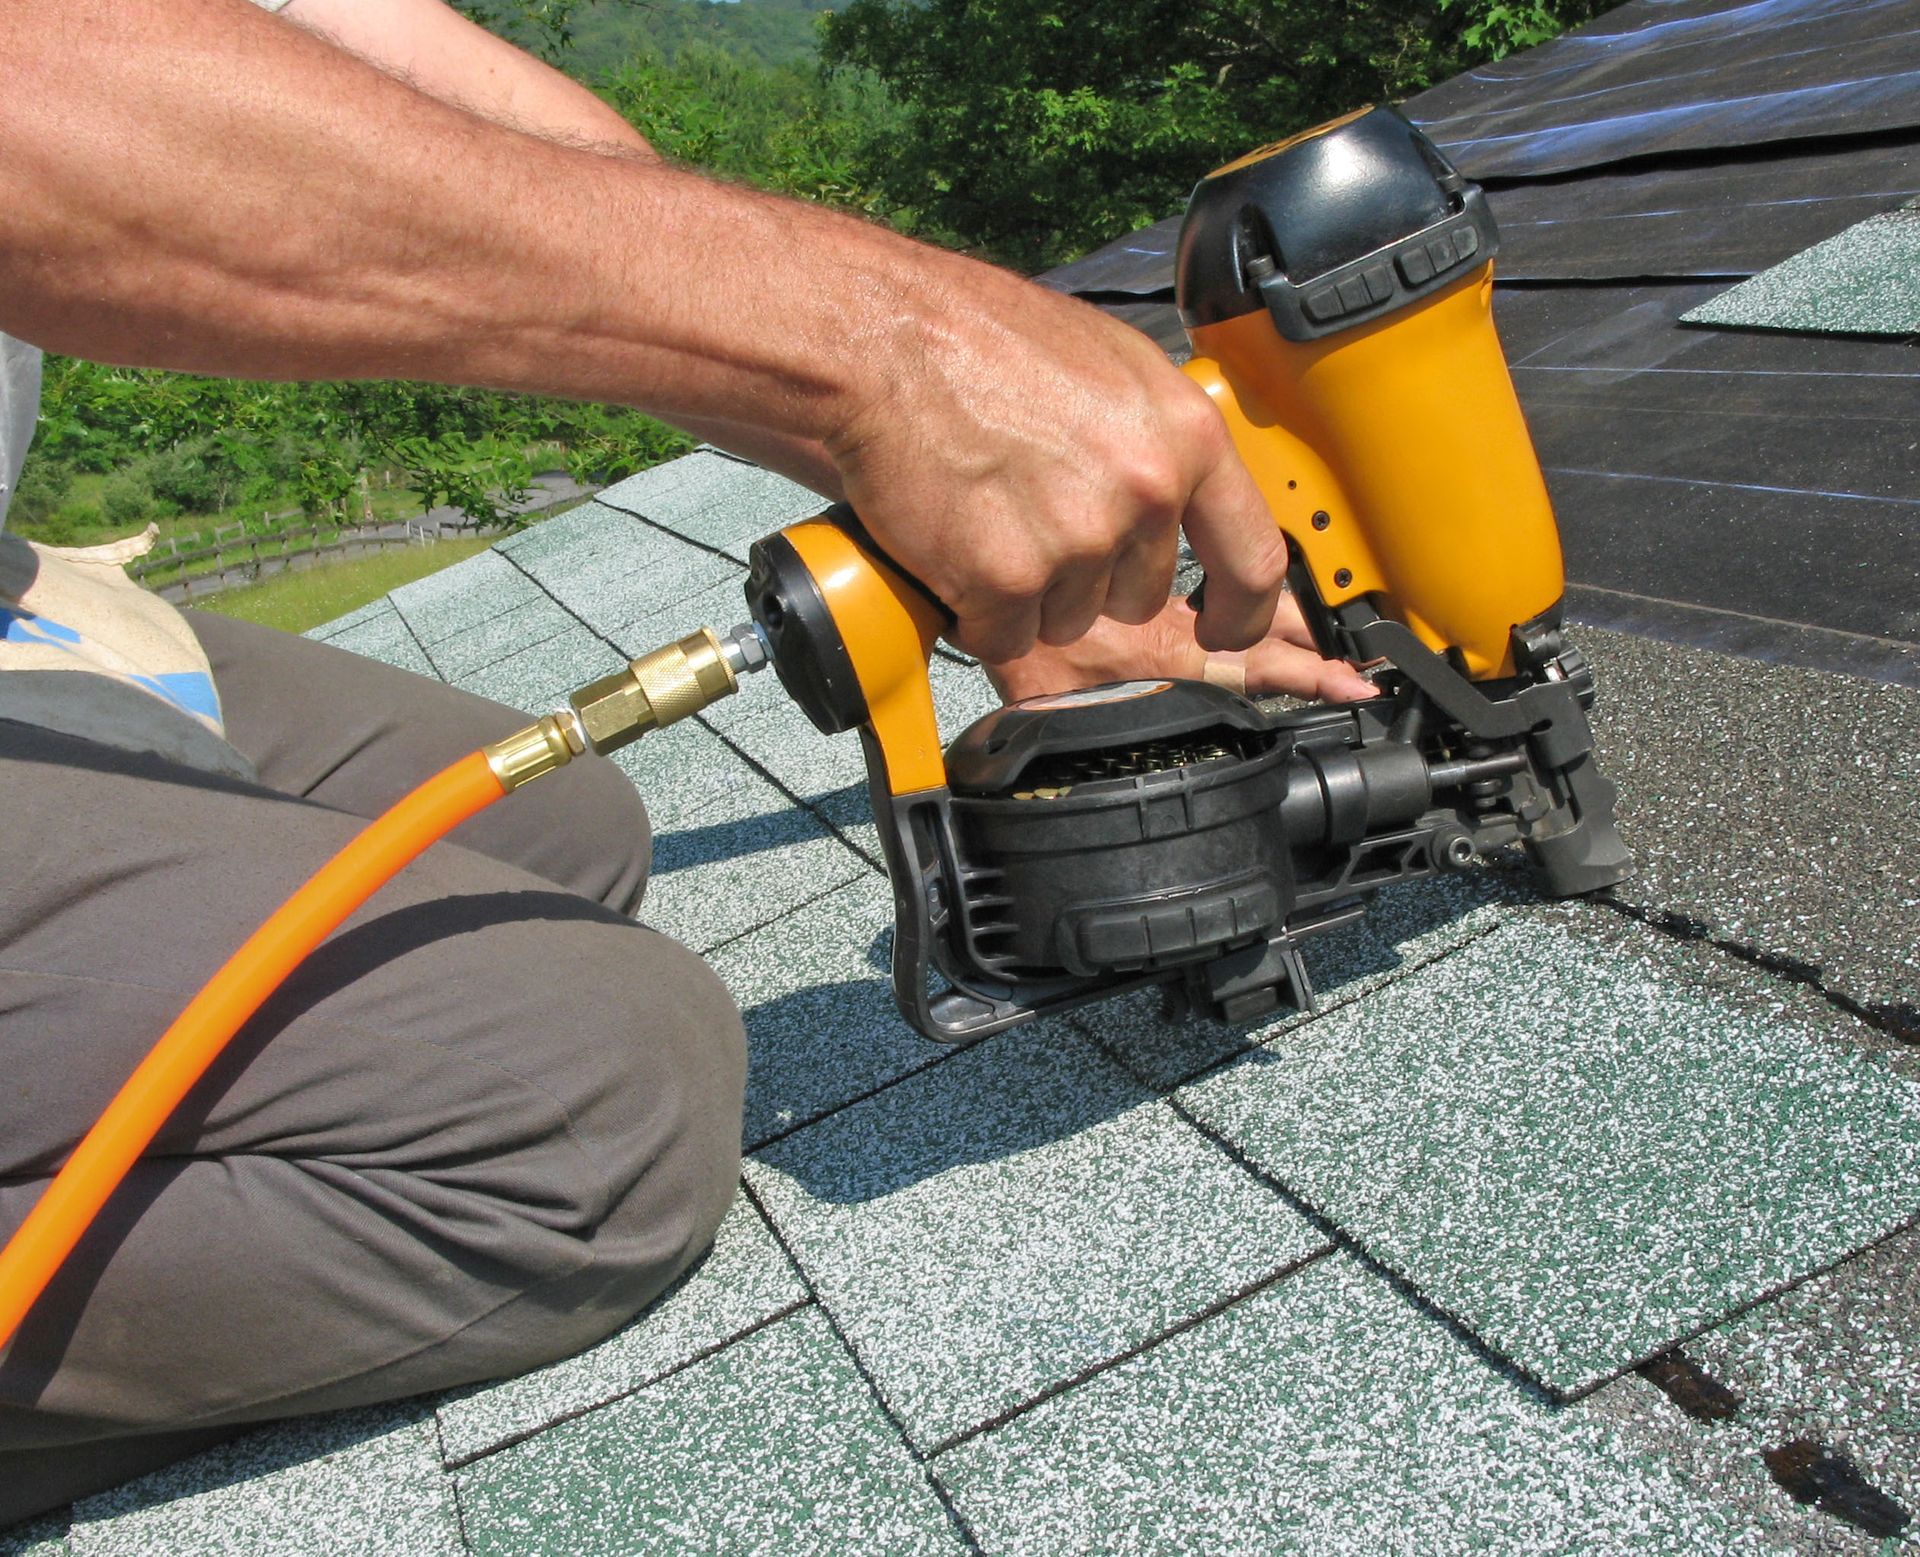
If you have existing gutters, the crew begins by carefully detaching the old metal channels, downspouts, brackets, and spikes. Experienced installers remove these old components in manageable sections to avoid damaging your roof edge, siding, or surrounding flower beds. A professional contractor handles all hauling and recycling, leaving you with zero debris disposal worries.
Step 2: Fascia Board Inspection and Prep
With the old hardware out of the way, technicians perform a final check on the exposed fascia. Any surface dirt or mild mildew is cleaned off. If minor wood repairs are needed, they are completed to create a clean, solid structural surface before installing the new hidden hangers.
Step 3: On-Site Precision Roll-Forming
This step is where seamless gutters get their name. Instead of bringing pre-cut metal sections to your property, installers bring flat coils of heavy-gauge metal mounted inside a specialized roll-forming truck or trailer.
First, the technician measures the precise length of a specific eave's run. Second, the flat metal sheet feeds through a series of internal steel rollers inside the roll-forming machine. Third, the machine continuously bends and shapes the flat metal into a seamless, rigid channel—cut to the exact length of your roofline. This on-site fabrication ensures every section fits your roof edge without joints, seams, or unnecessary cuts.
Step 4: Measuring and Setting the Perfect Slope
A common misconception is that gutters run completely parallel to your roofline. In reality, gutters must tilt slightly downward toward the downspouts so water flows freely instead of pooling. According to This Old House, gutters must have at least 1/4 inch of slope for every 10 feet of gutter run. For example, on a continuous 30-foot stretch of fascia, the low end near the downspout must sit roughly 3/4 of an inch lower than the high end.
If the slope is too flat, water accumulates in the center, leading to standing pools, mosquito breeding, sagging metal, and rust. If the slope is too steep, water rushes down too quickly during severe storms, overflowing the downspout opening and splashing over the outer rim. If the slope is reversed, water travels away from downspouts, pooling in low points along your roofline and causing roof edge rot.
Step 5: Installing Heavy-Duty Hidden Hangers
In older homes, gutters were often fastened using "spike-and-ferrule" hardware—long metal spikes driven straight through the outer rim of the gutter into the fascia. Over time, freeze-thaw cycles and heavy rain push those spikes loose, causing the gutter to pull away from the home.
Step 6: Corner Miters, Outlets, and Sealing
Because roofs rarely consist of a single straight line, seamless gutters must navigate inside and outside corners. Installers join meeting edges using custom-fit corner miters. High-grade, UV-resistant polyurethane or silicone sealants are applied along internal corner joints and downspout outlet drops. Unlike standard sectional seams that endure constant water weight along flat runs, sealed corner joints sit in low-stress zones designed to remain watertight for decades.
Step 7: Downspout and Extension Attachment
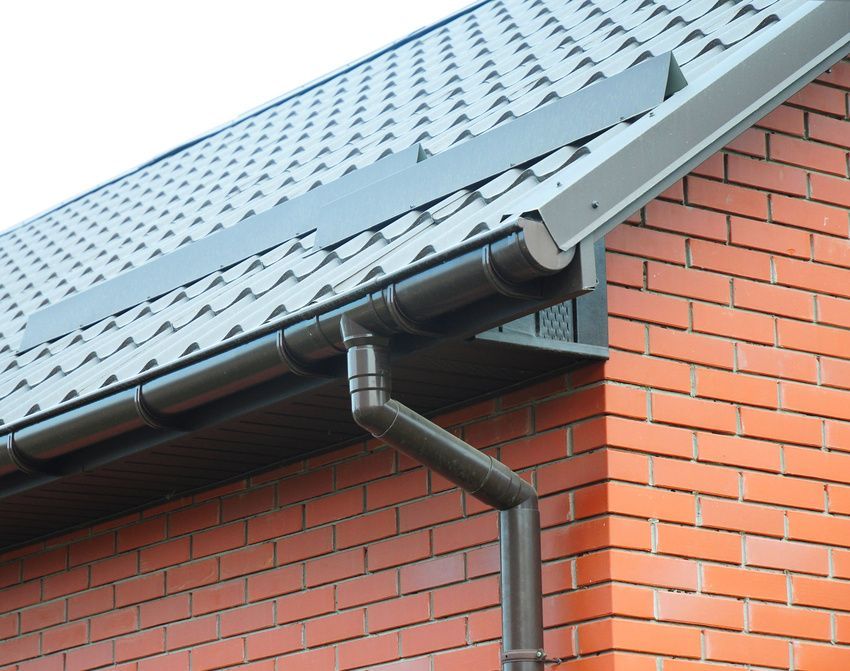
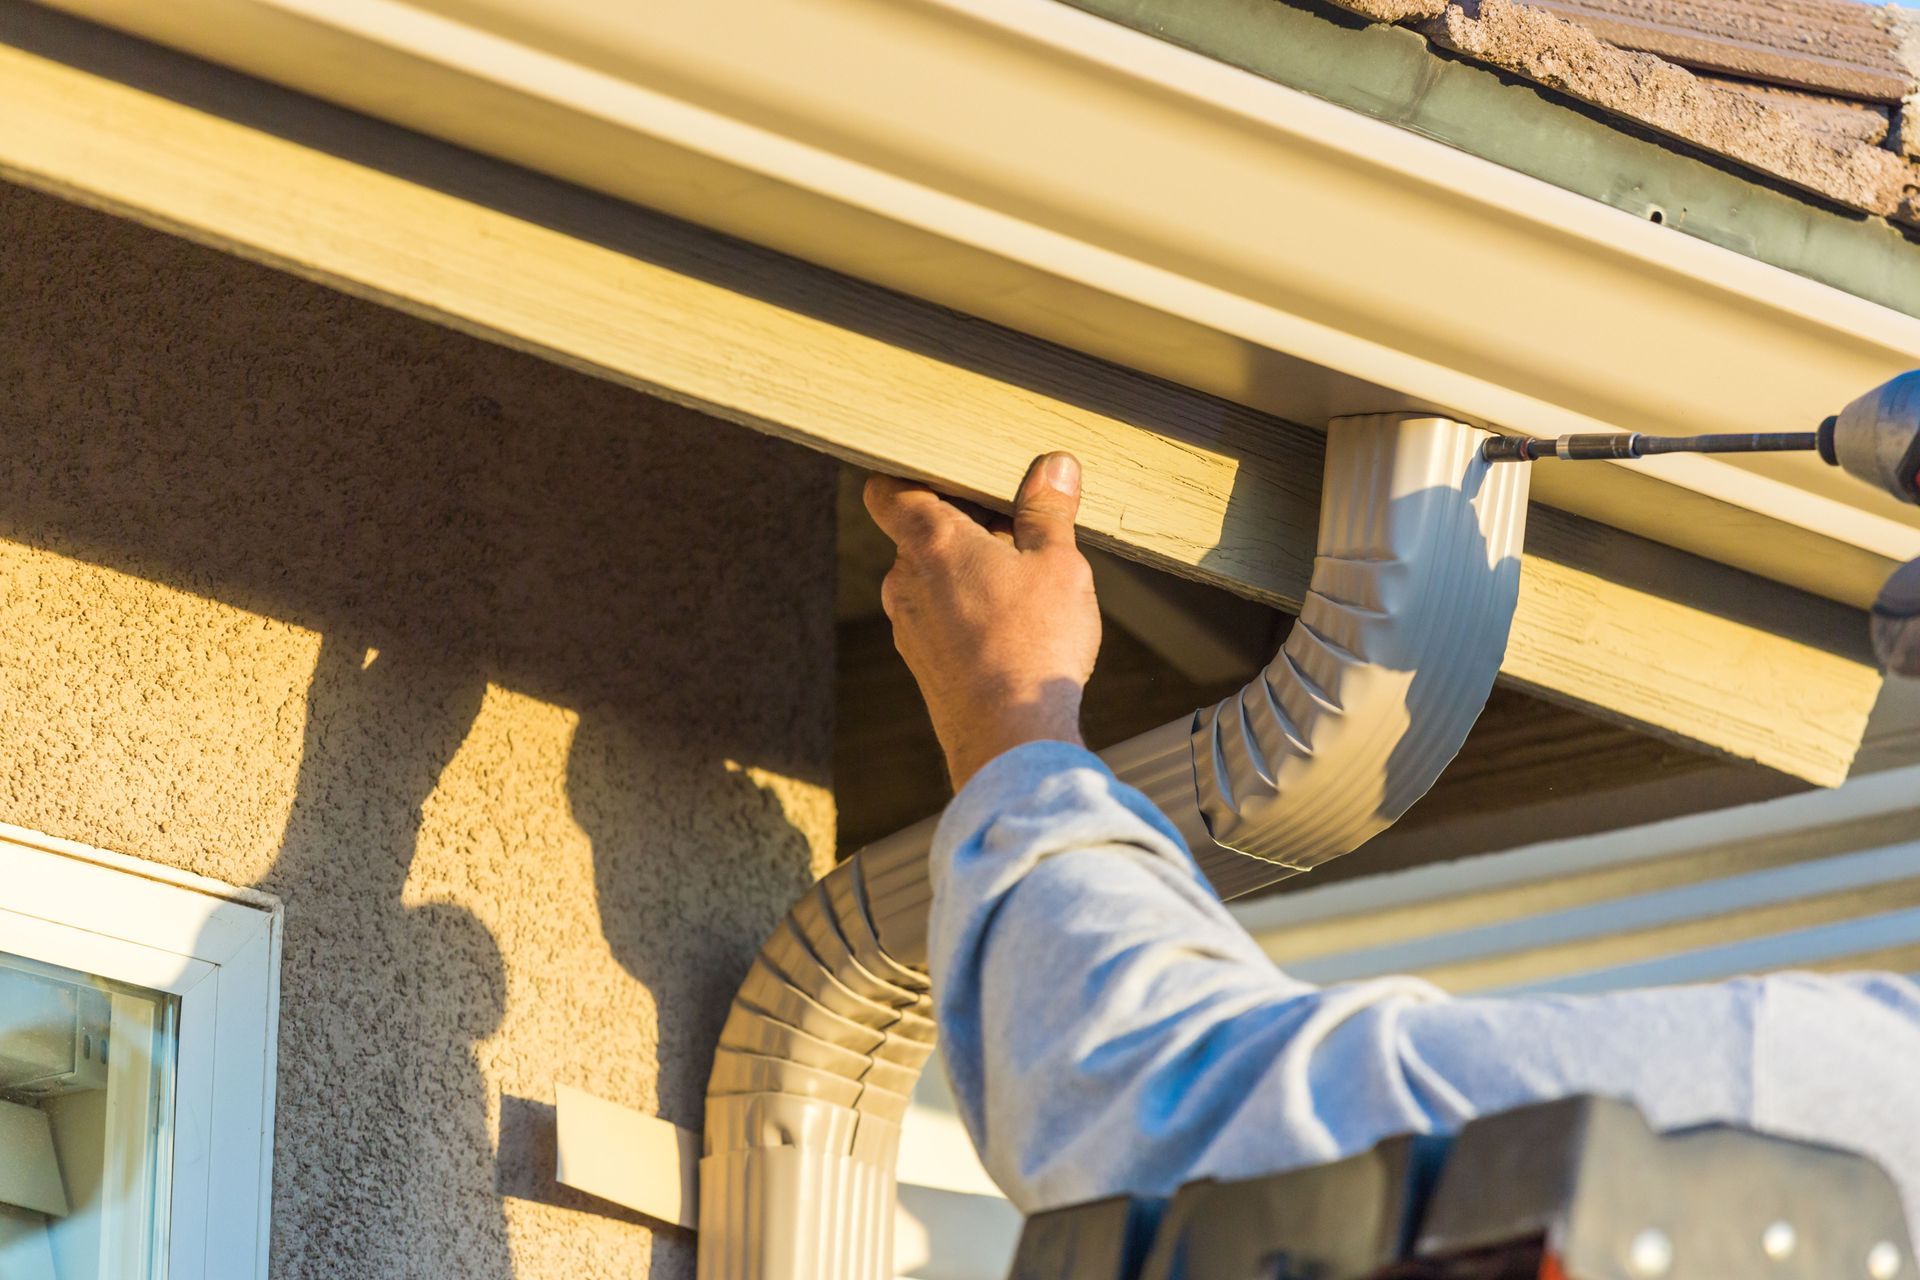
Once the main gutter runs are mounted, installers cut downspout openings using heavy-duty punch tools. Downspouts are secured to the side of your home using matching metal straps, guiding water down toward ground level. At the base of each downspout, installers attach elbows and extension pipes (or connect them to underground drain systems) to direct runoff at least three to five feet away from your foundation wall.
Ready to Upgrade Your Home's Protection?
Don't wait for the next storm to test your old, leaky gutters! Experience the difference a professionally engineered
seamless gutter installation can make for your home's curb appeal and protection. Call Pine Belt Gutters & Baggett Roofing today or visit our website to claim your free next-day estimate! We look forward to helping you protect your home with industry-leading seamless gutter installation.